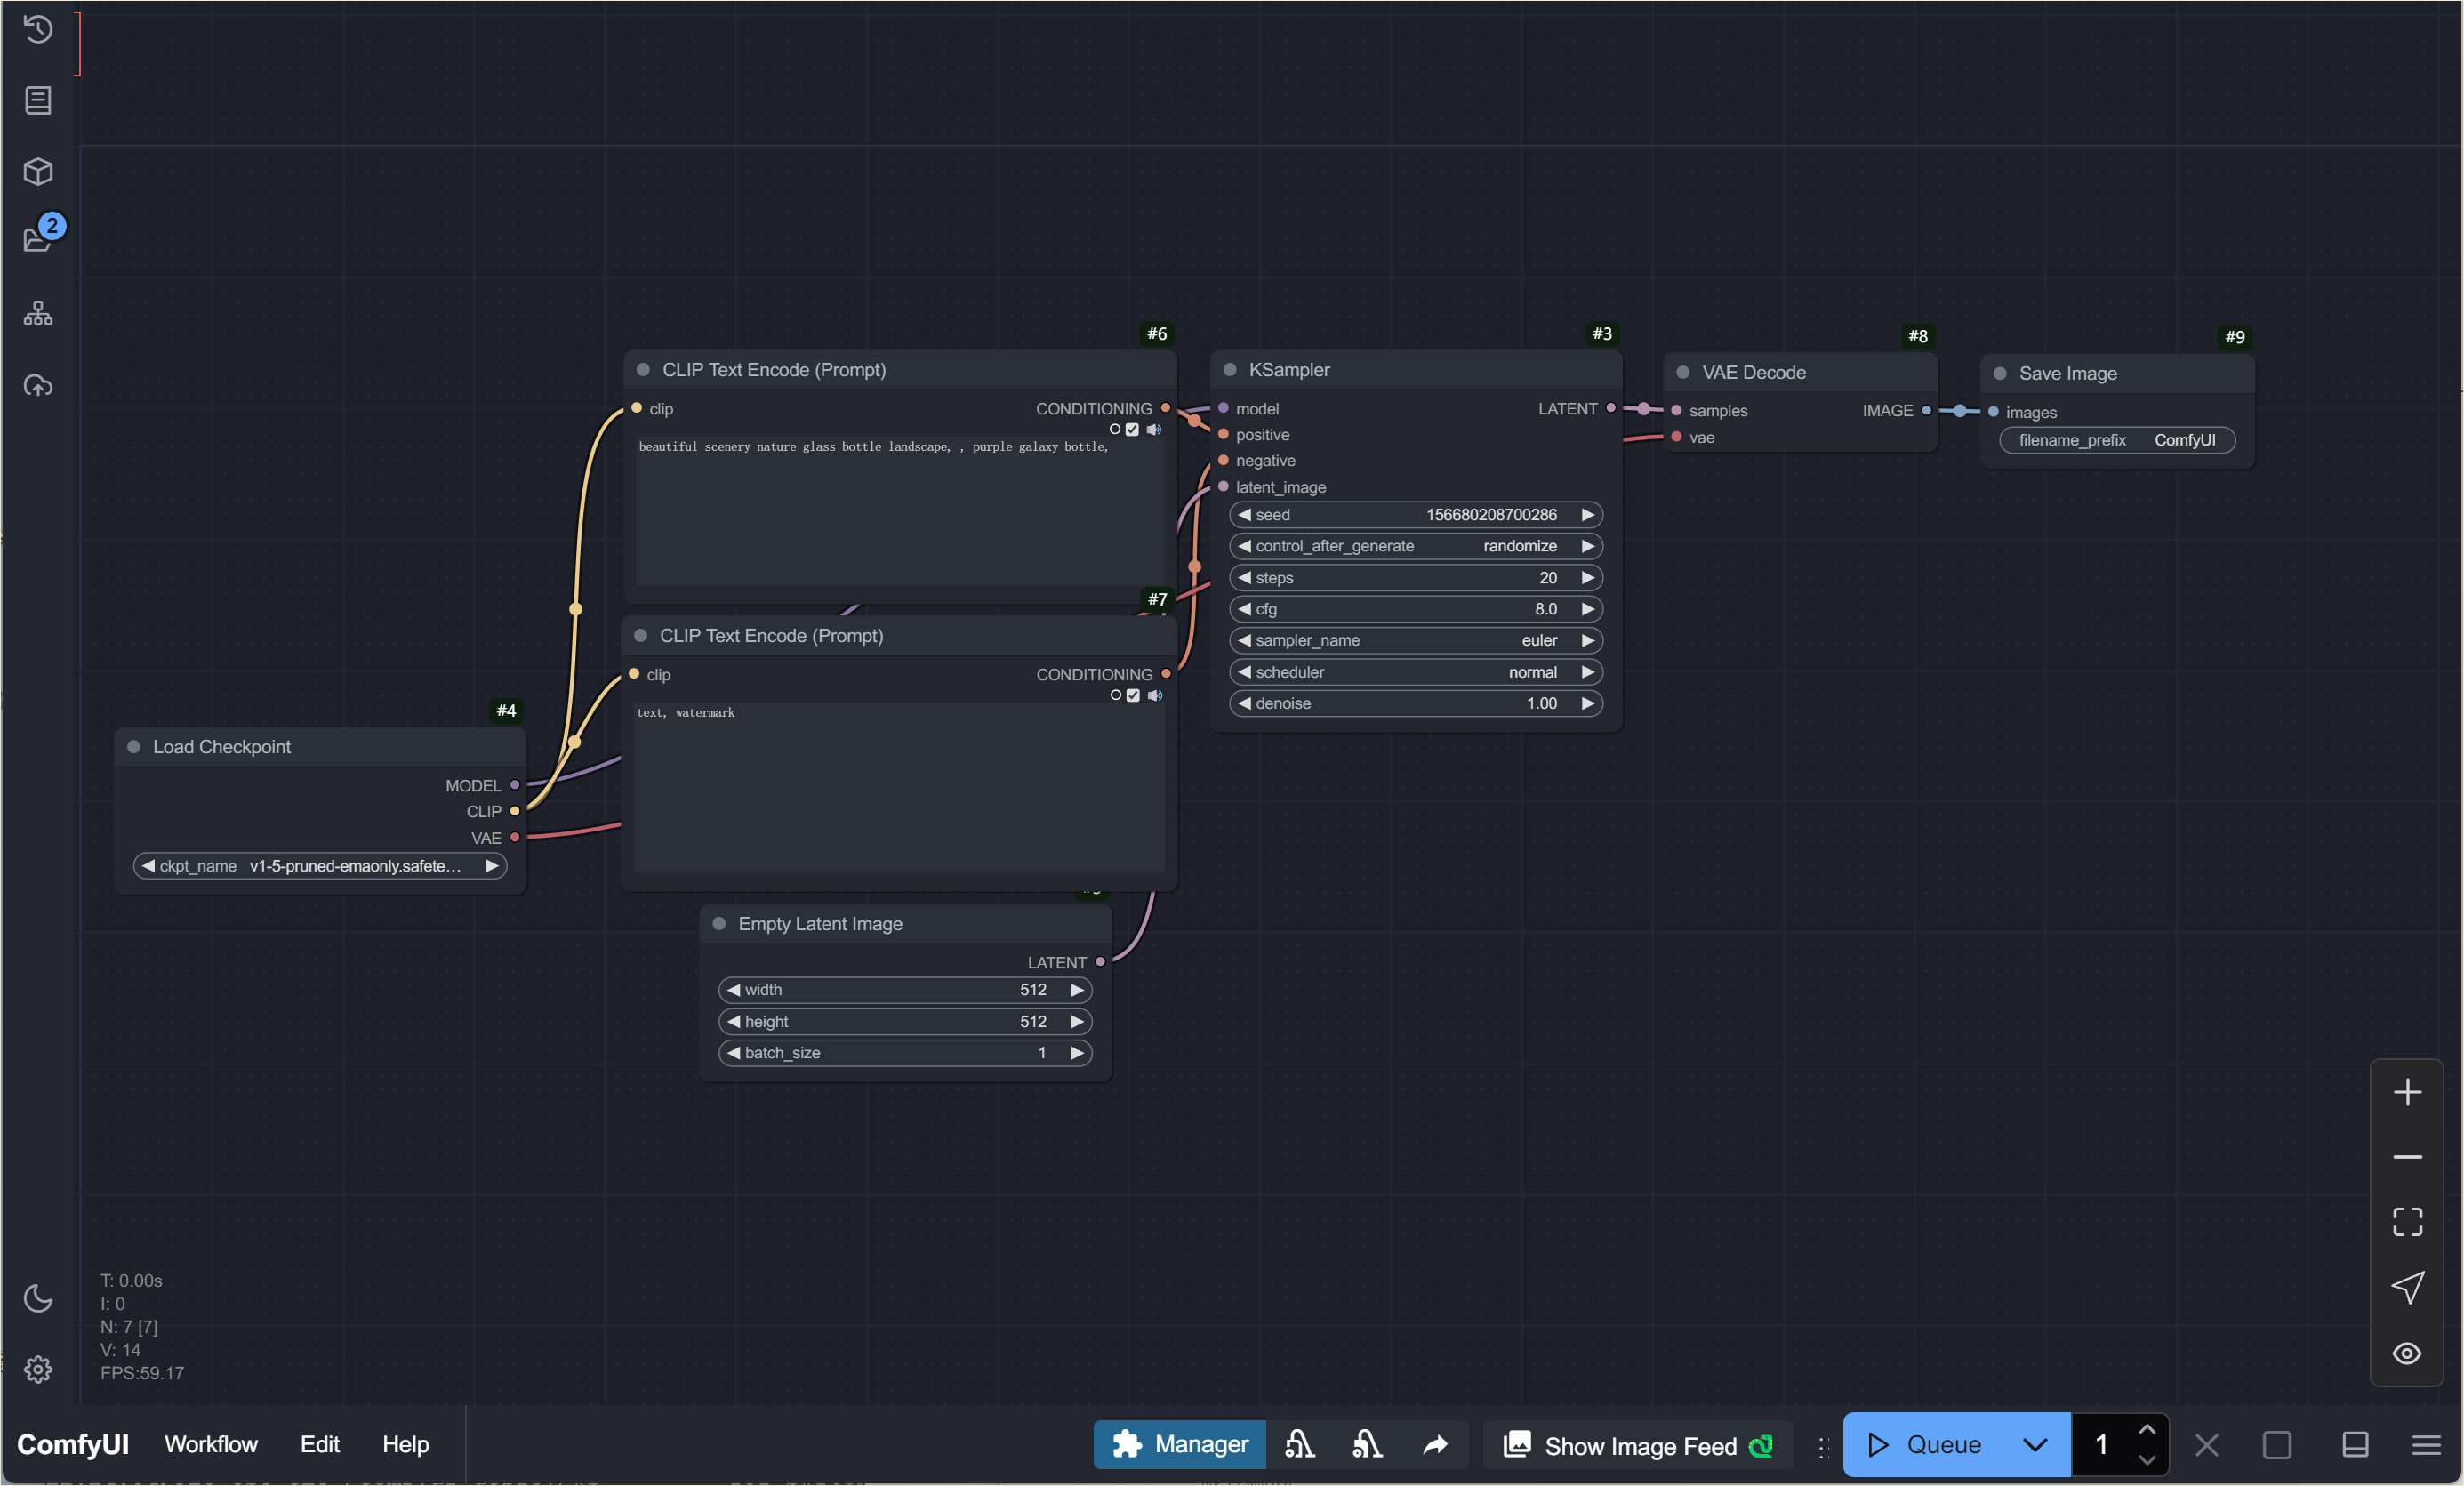
Just like building any other workflow, you first need to create a fully functional ComfyUI workflow.
Next, apply the nodes from the ComfyUI-Deploy plugin to expose the parameters that need to be accessed externally.
Before proceeding, it's important to note that not all plugins are supported. It seems that the original author has stopped actively maintaining the open-source code, so I have extended these functionalities through custom development.
Currently available nodes are listed below. Designers, just check out the screenshots! 😂
These options already cover most of the text-to-image and image-to-image parameters in ComfyUI. More components will be added in future updates for better completeness.
Now, let's go back to configuring the nodes using a classic SD 1.5 workflow as an example.
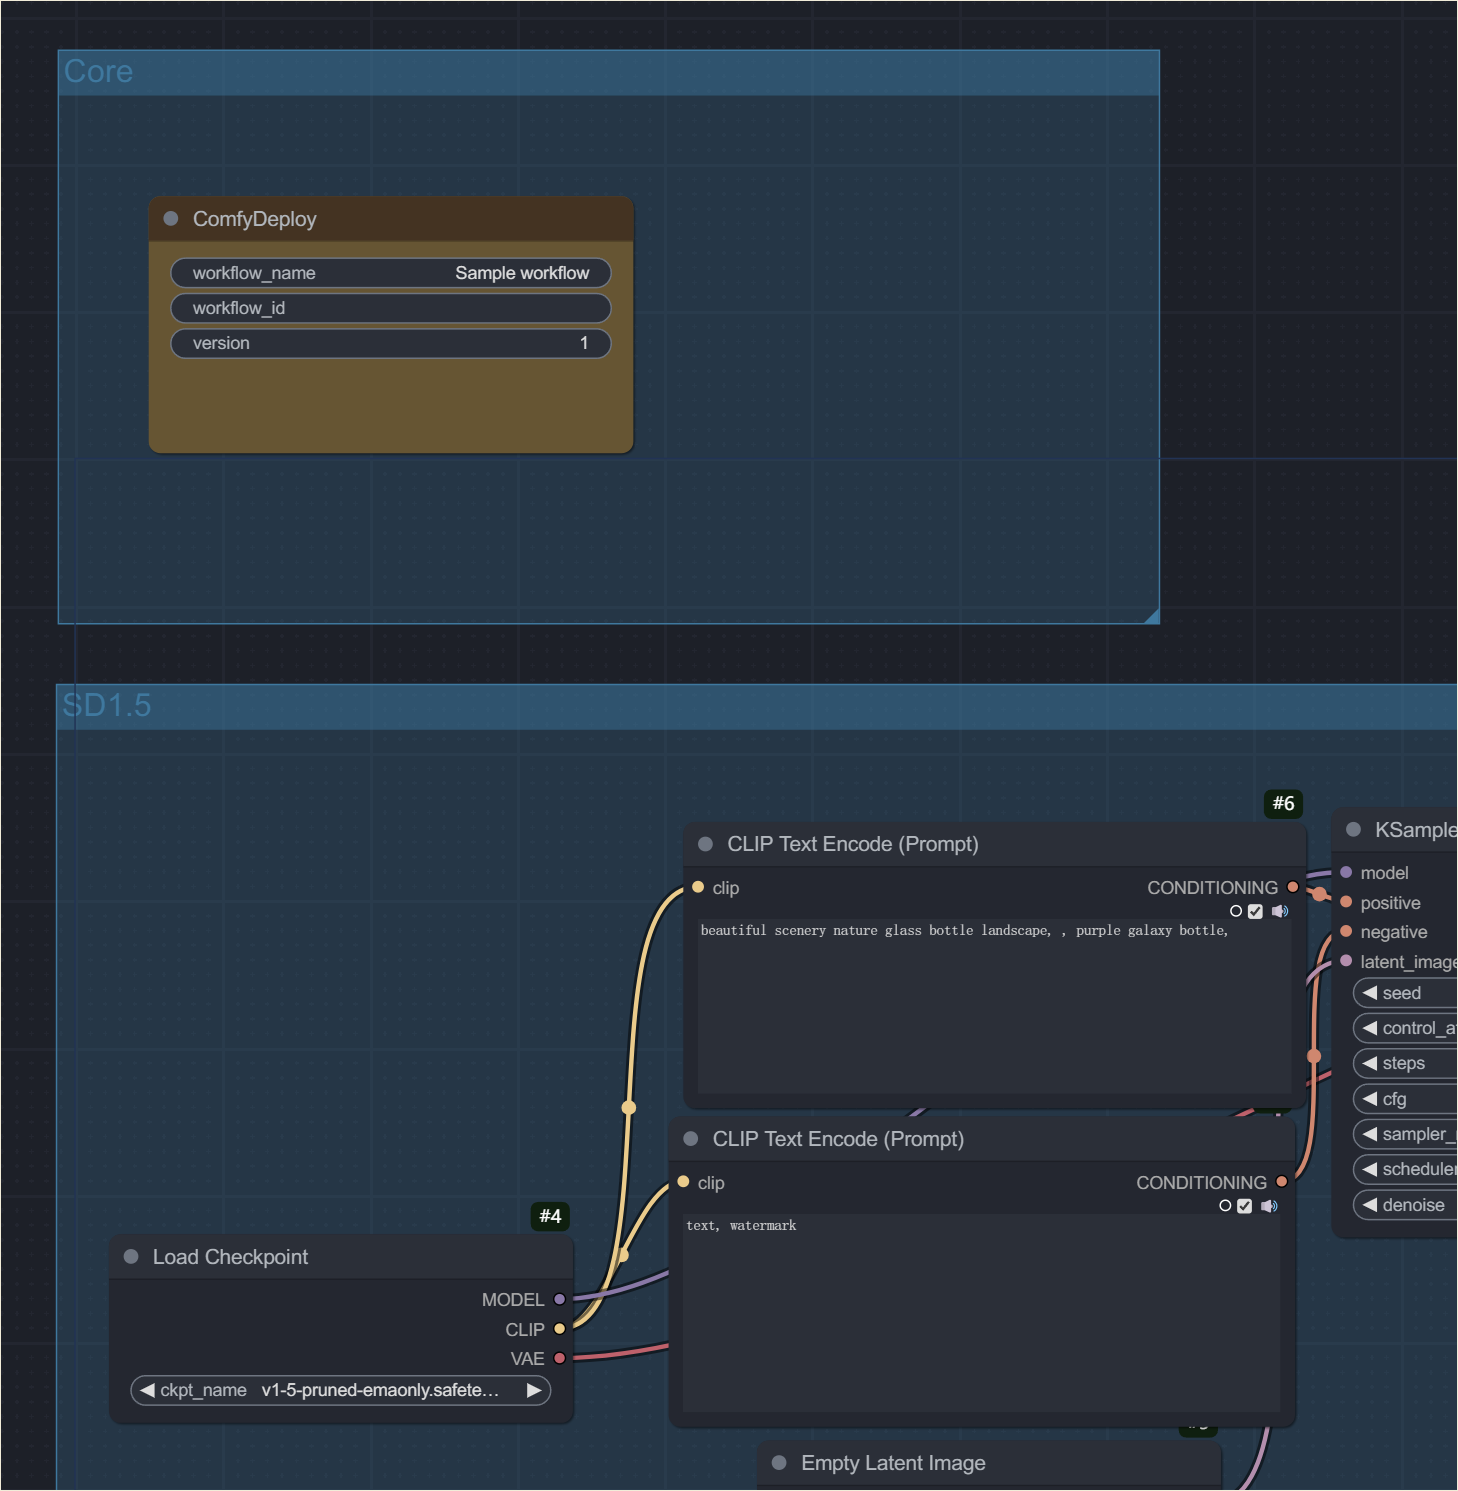
Drag the node into the scene—no need to connect it. Enter the workflow name. For the first submission, leave the ID and version fields empty; the system will generate them automatically.
Note:
If you need to update an existing workflow, manually enter the workflow ID to ensure the update applies correctly. Also, update the version number to avoid overwriting previous versions.
Add the Image Output node and connect the workflow output to it. Make sure to select PNG or JPG, as Figma does not support WebP format.